How To Do Makeup At Home
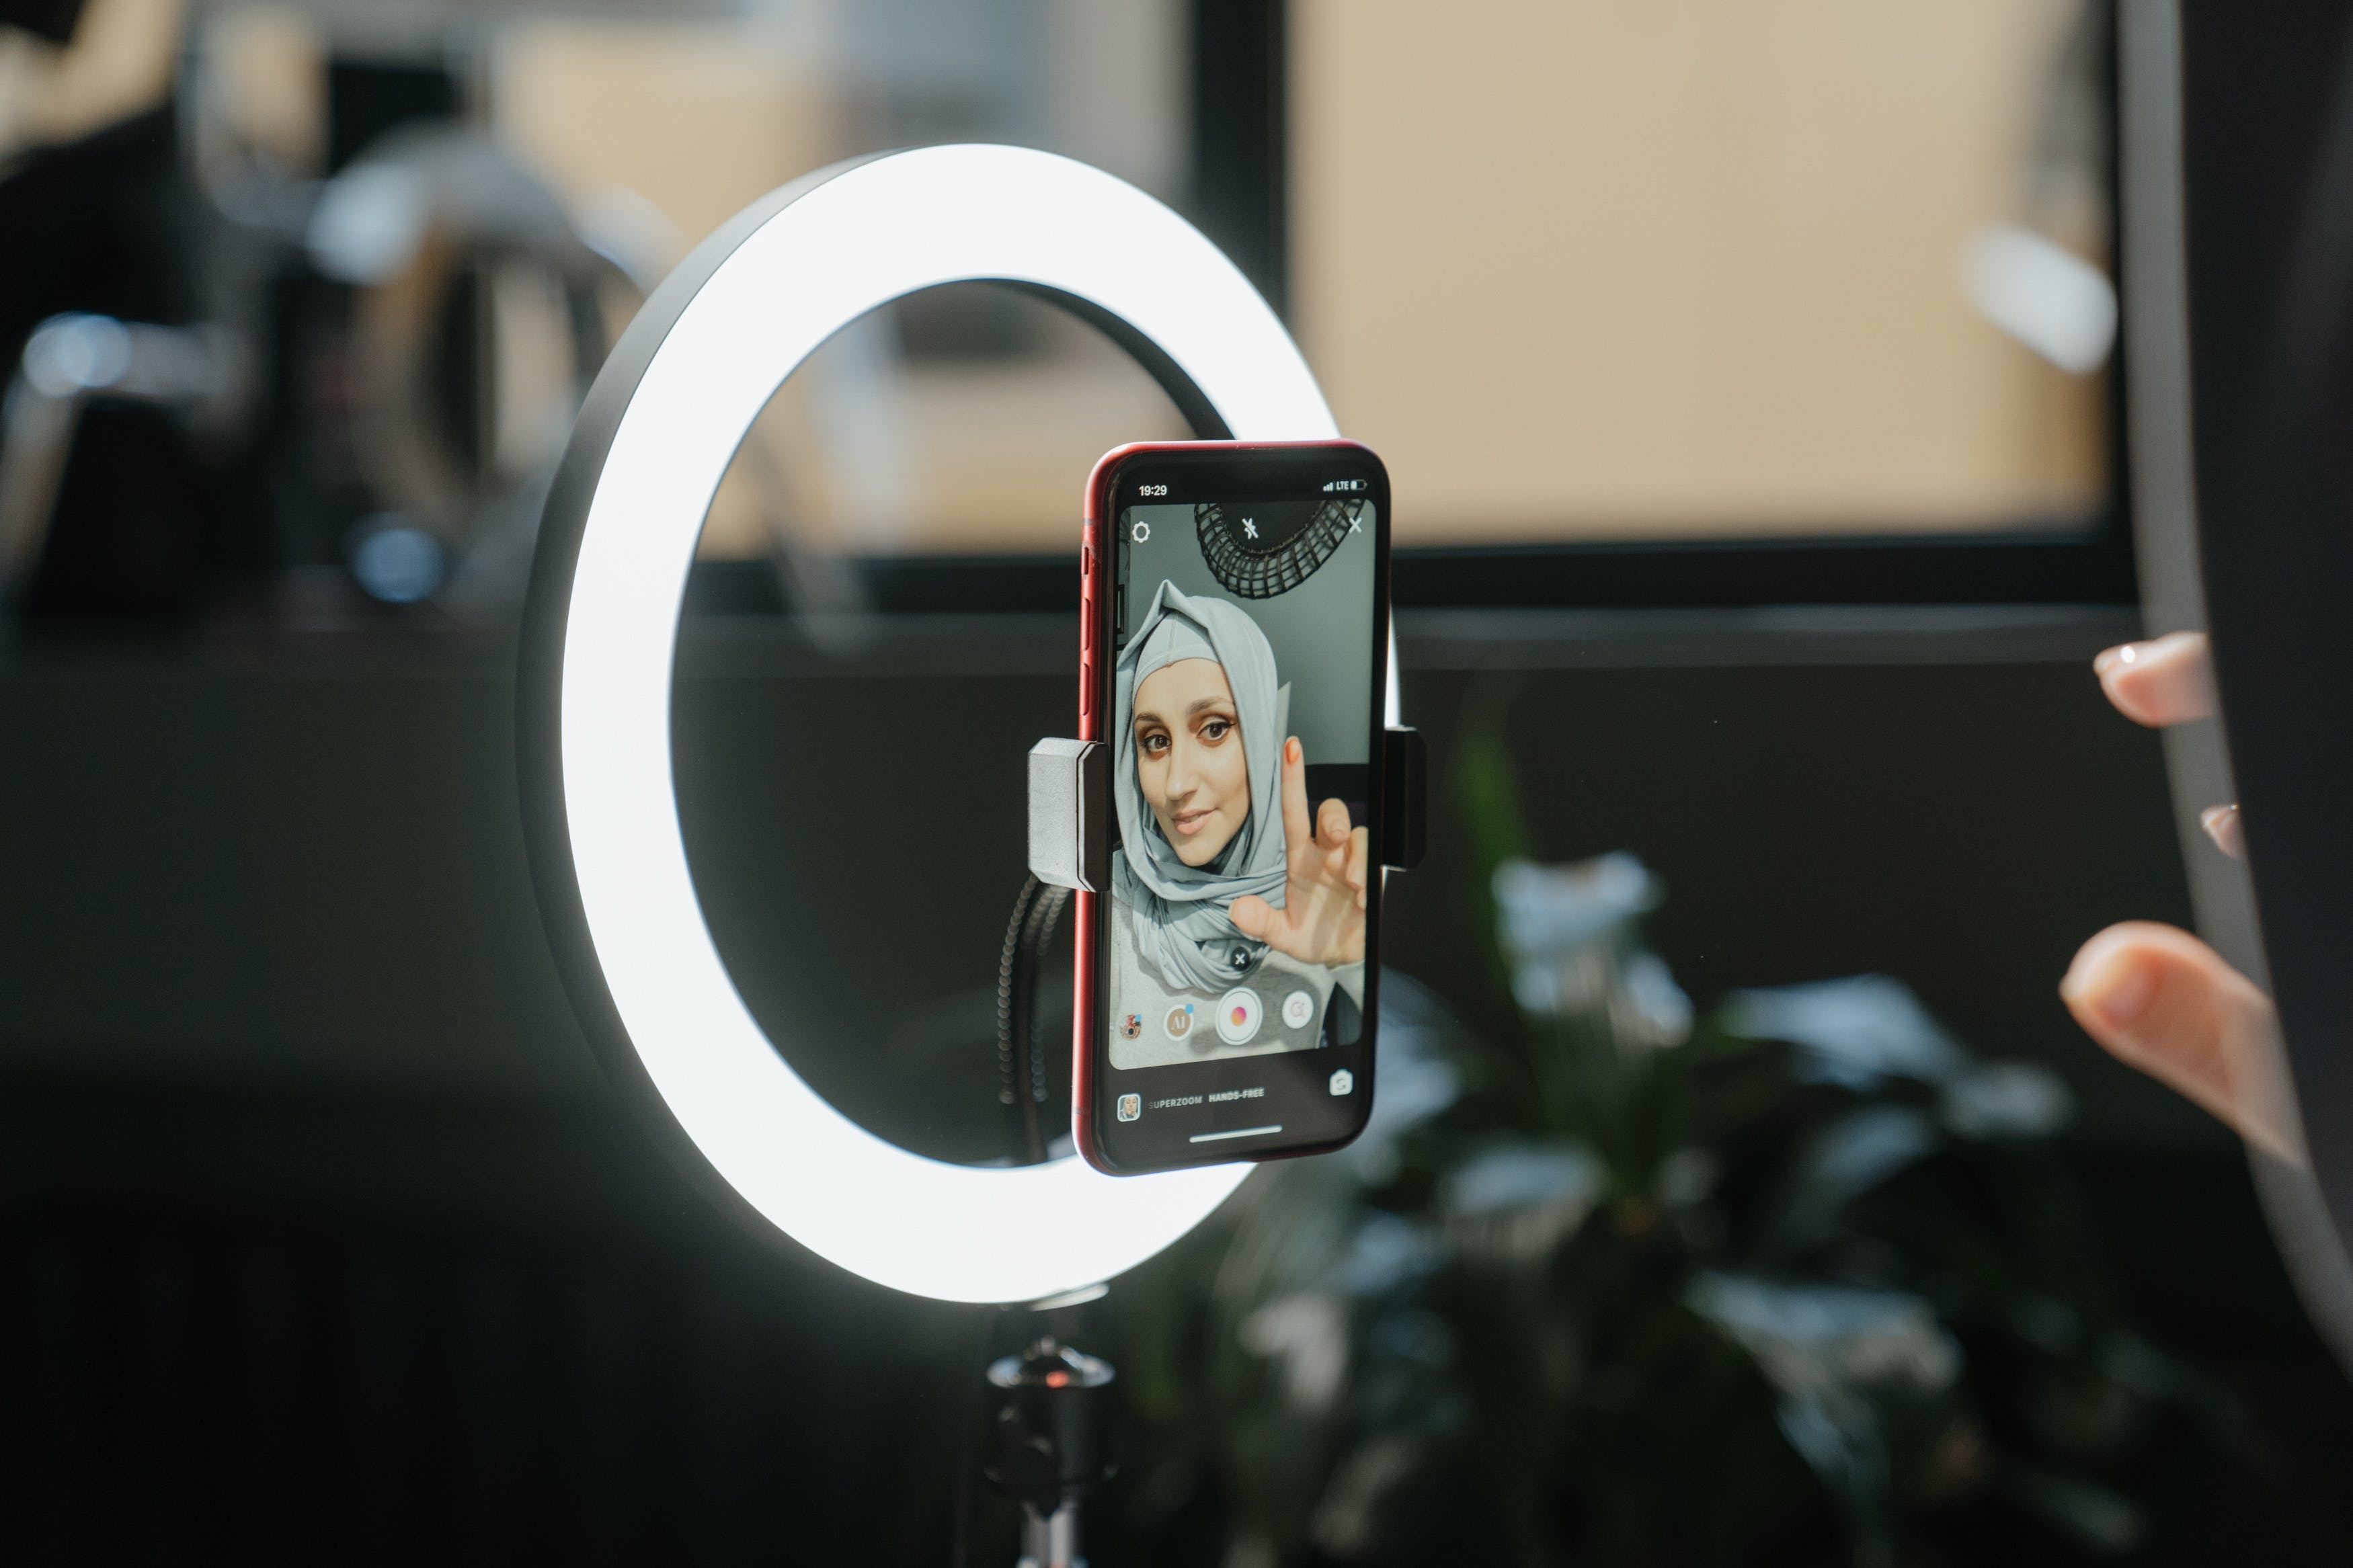
1. Light's, Camera, Action.
As with selfies, lighting is everything!
Make sure you are doing your makeup in a bright and natural light. Otherwise, you run the risk or wearing too much, or too little.
I have often been deceived by dim light only to check myself in the mirror outside to realise the natural look I was aiming for is more Ru Paul then subtle. The lighting should always be coming on to your face rather than from behind it. Backlighting creates unwanted and misplaced shadows.
My recommendation is using a large portable mirror in front of a window with plenty of sunshine.
If you don't have access to much natural light, invest in a ring light mirror, if you can.

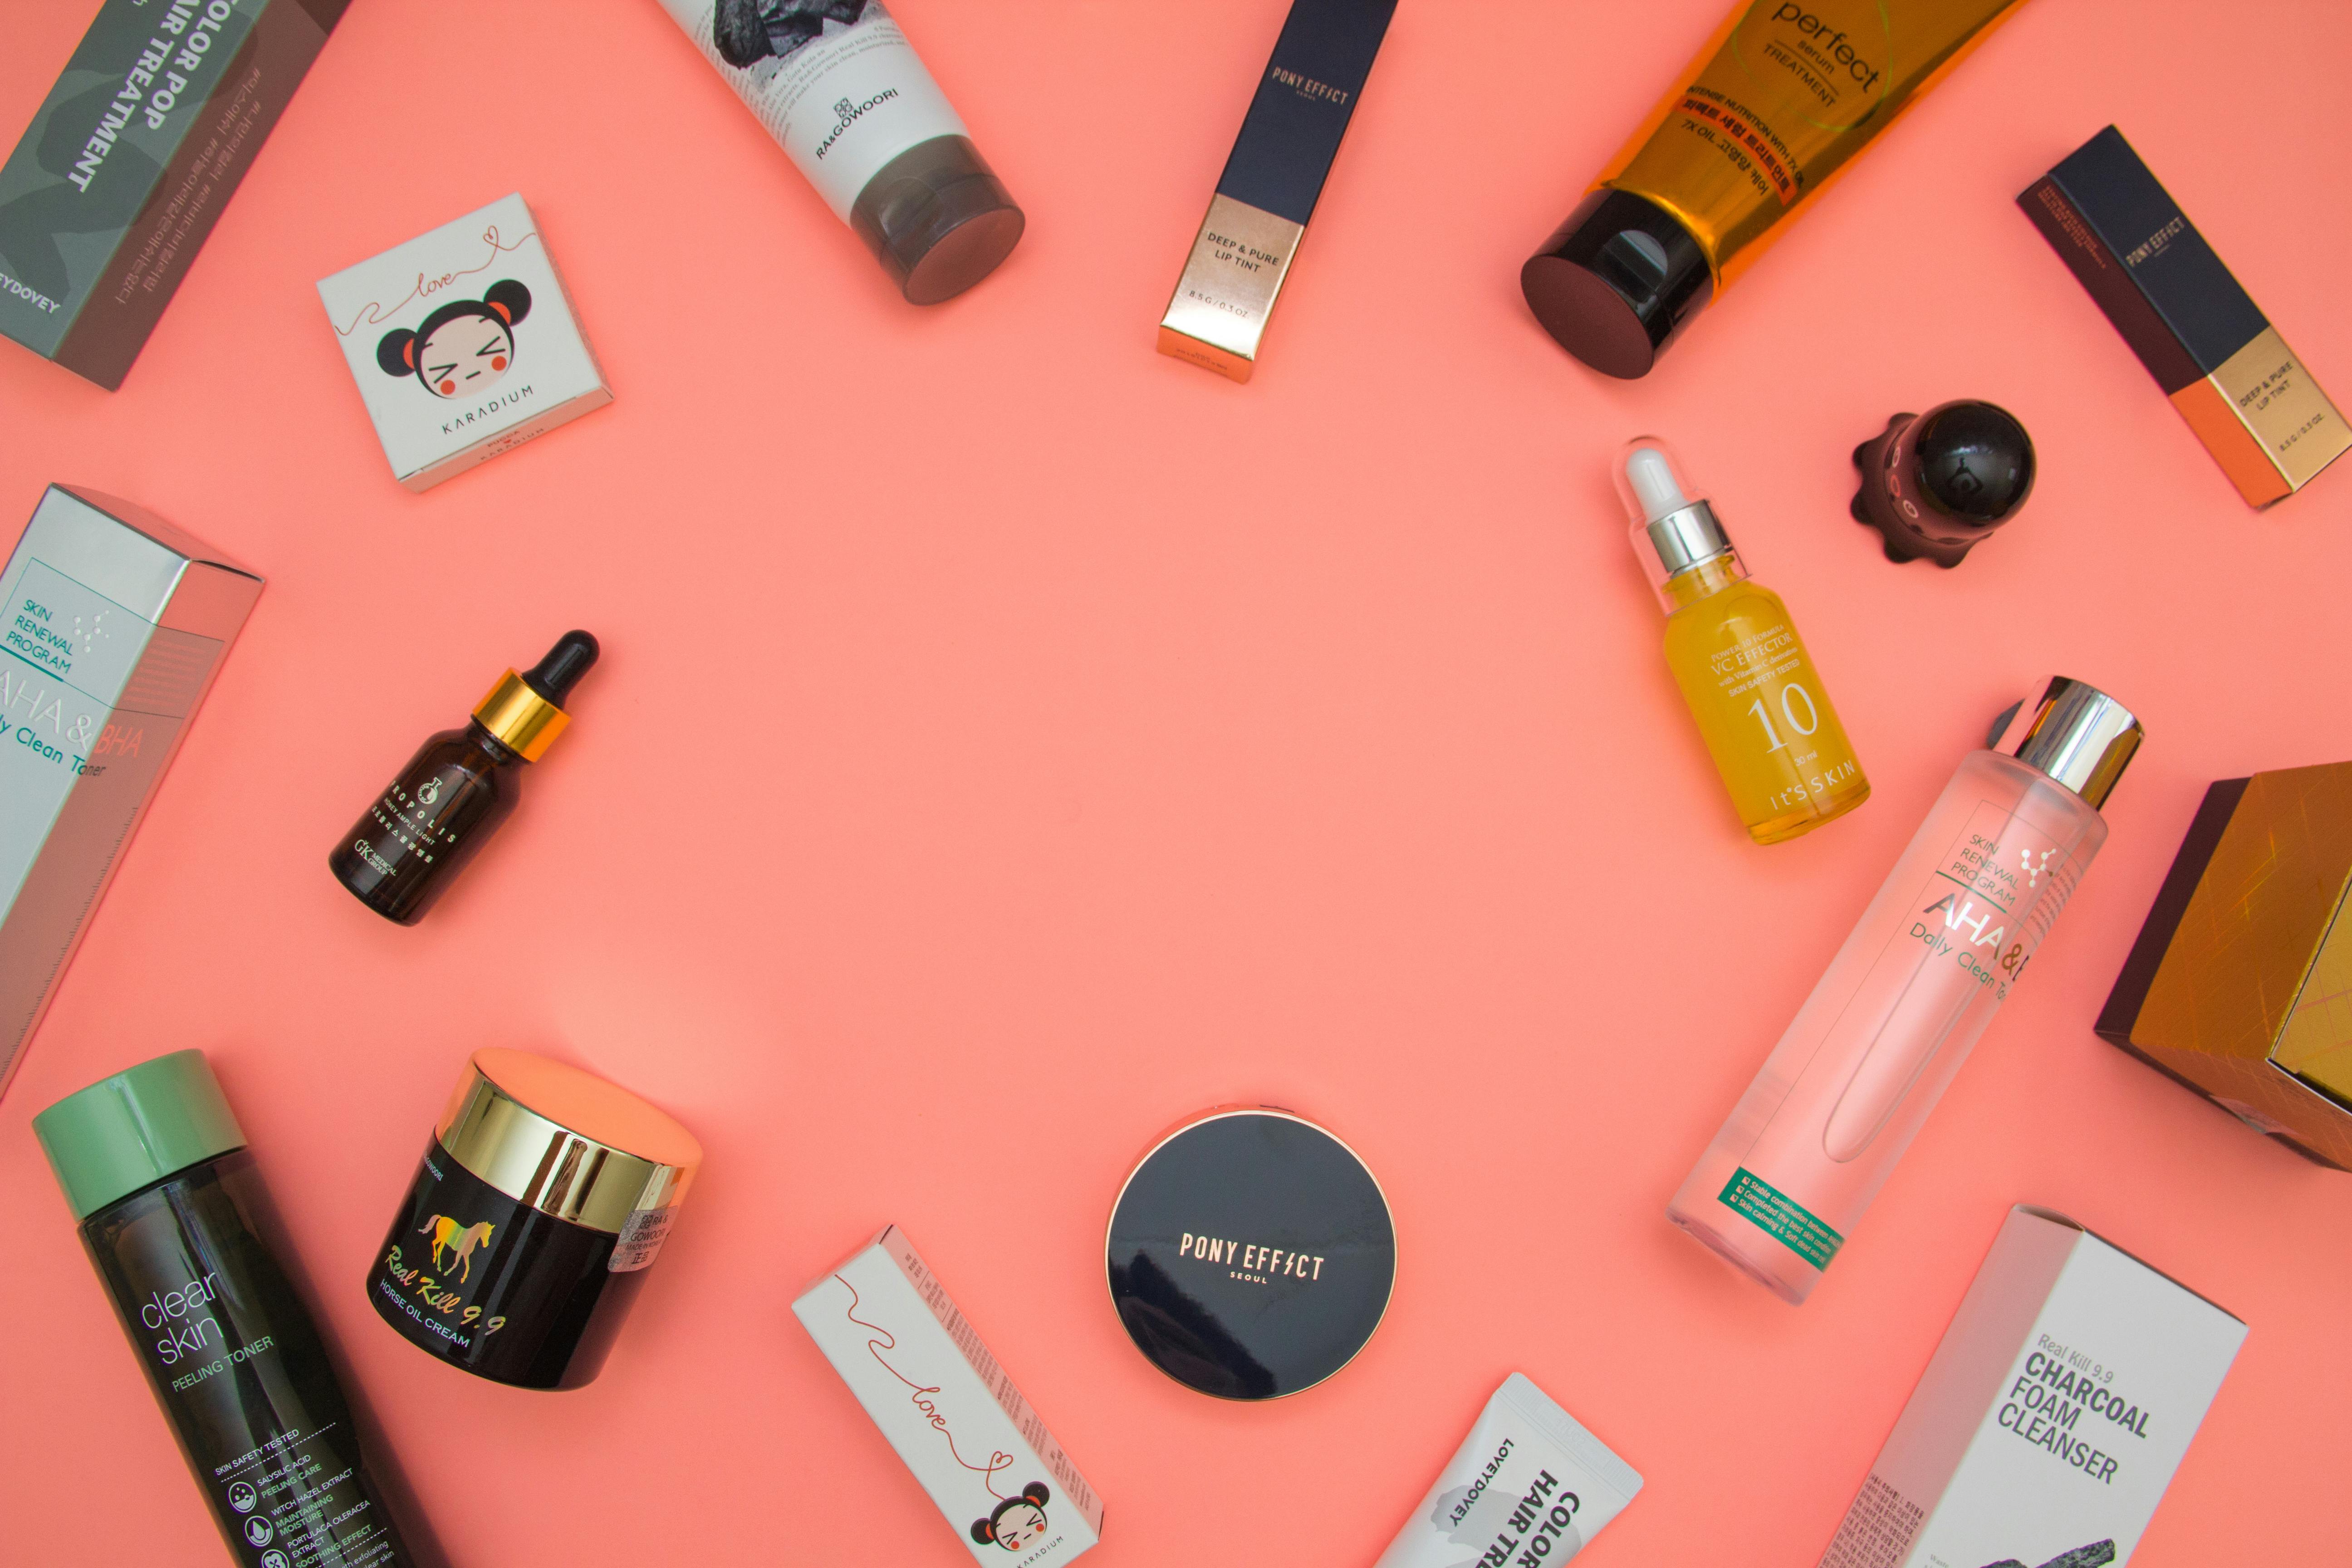
2. All About That Base.
The base is a part of hair and makeup at home that SO many of us struggle with. Whether we know it or not...
Think unblended foundation lines, miss-matched shades and of course, the dreaded cakey base.
Flawless makeup starts with flawless skin.
When it comes to the base, less is more.
So, if you want to achieve a glowing, glassy and subtle foundation look, then get your skincare together.
Some of the easiest ways to improve your skin are:
1. WASH YOUR FACE.
Seriously, if you are not taking your makeup off every night before bed, you need to start.
2. DRINK MORE WATER
Again, you need to do this if you are not already doing this.
3. Establish and maintain a consistent skincare routine with products suitable for your skin type!
With just a few simple changes, you will have a flawless complexion and face base in no time at all.
BONUS:
4. Watch out what you eat! Certain foods can flare up food sensitivities leading to inflammation and detoxification of unwanted ingredients (heavy metals, gluten, toxins, etc.) via your skin, aka pimples.
There is no secret about which foods to avoid. Just eat healthy. Healthy body = healthy skin.
3. Prime Time.
If you are not using primer, again you need to do so.
A primer suited to your skin's needs is an absolute must for pro-looking hair and makeup at home.
Whether illuminating, hydrating, colour correcting or blurring, there are many drug store and designer primers out there waiting to elevate your makeup game.
But it's not just the type of primer you use, it's also how you apply it!
Primer should come after skincare and prep, but only after your moisturiser has had time to dry.
This should take a minute or so.
I like to apply a light layer of primer using a stippling brush, then allow it to sit for 30 seconds before applying another layer, being a little more heavy-handed in my problem areas.
Wait another minute or so before applying your foundation.
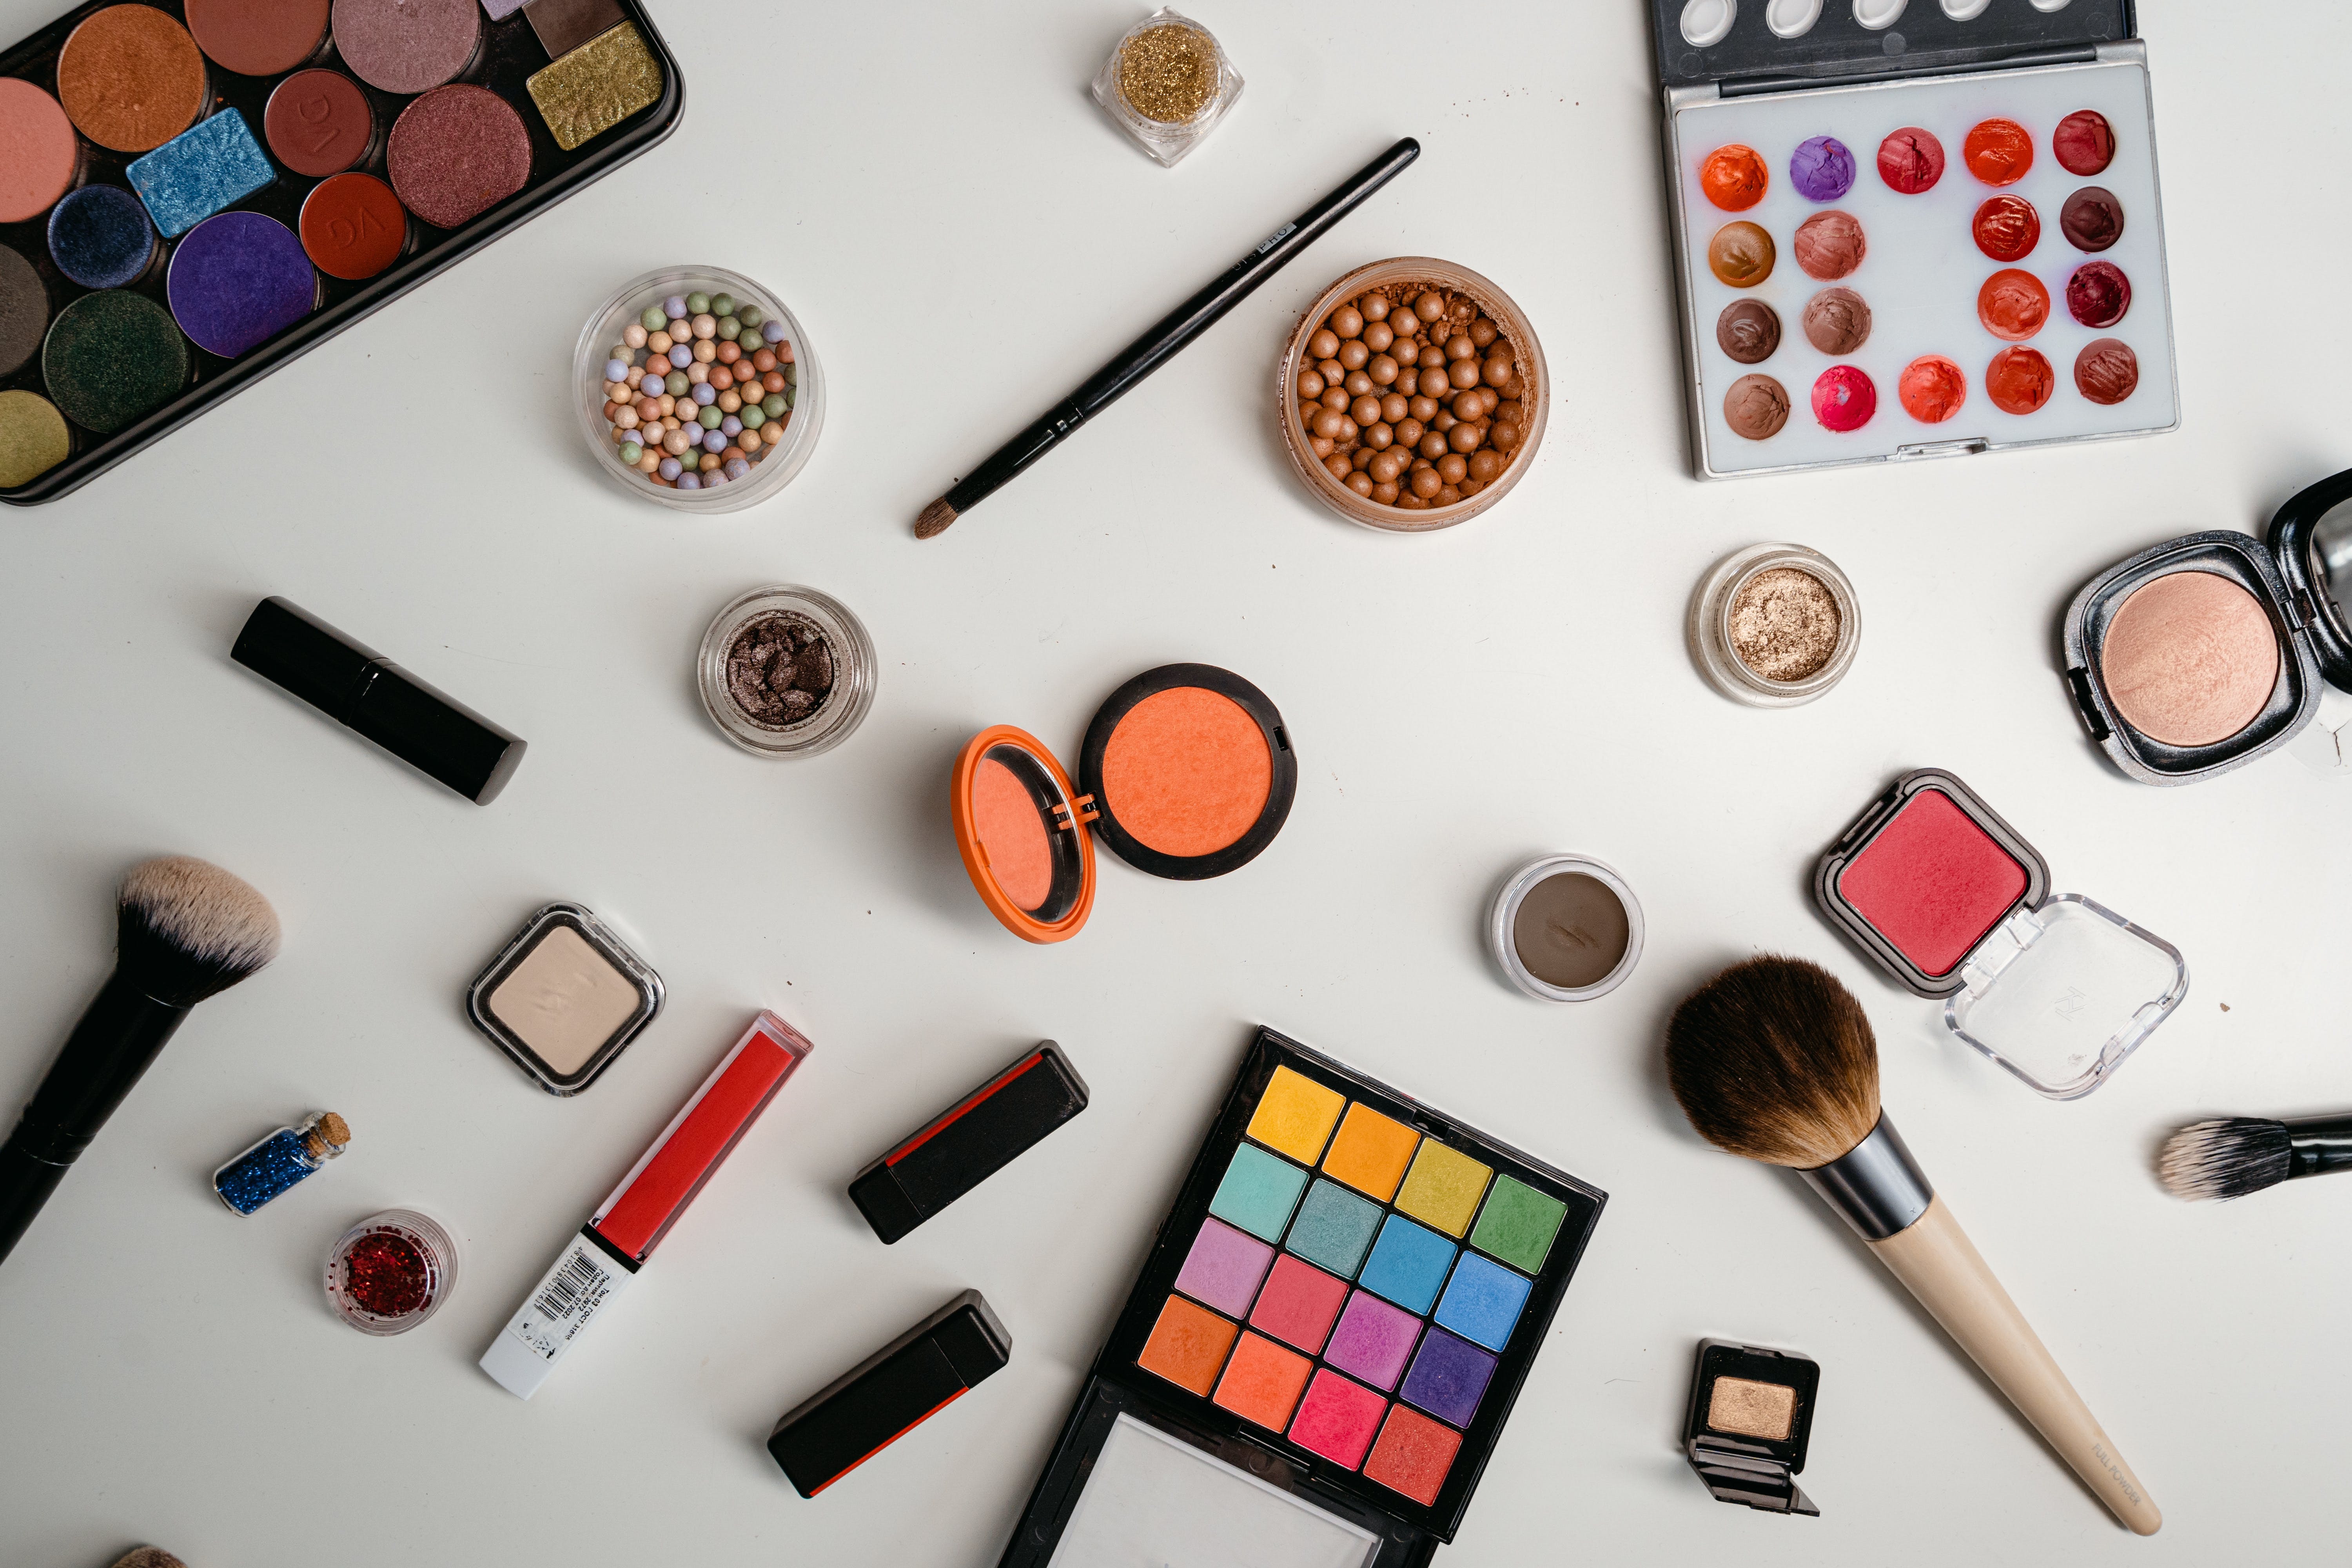
4. Keep It Cream.
Or powder.
Just stick to one.
Pros can switch it up between liquids, creams and powders but for us mere mortals, this can be hazardous.
So, it is best to stick with what works best with your skin.
If you like a liquid foundation, try using cream blushes and contour sticks and even cream eye shadows.
You would be surprised by how light and easy to blend this method is.
Same goes for if you prefer powder products.
The one exception to this rule is setting powder and some eye shadows.
You can apply a small amount of powdered products over a liquid or cream base without too much drama.
But use with caution to avoid cracking and cakey skin.
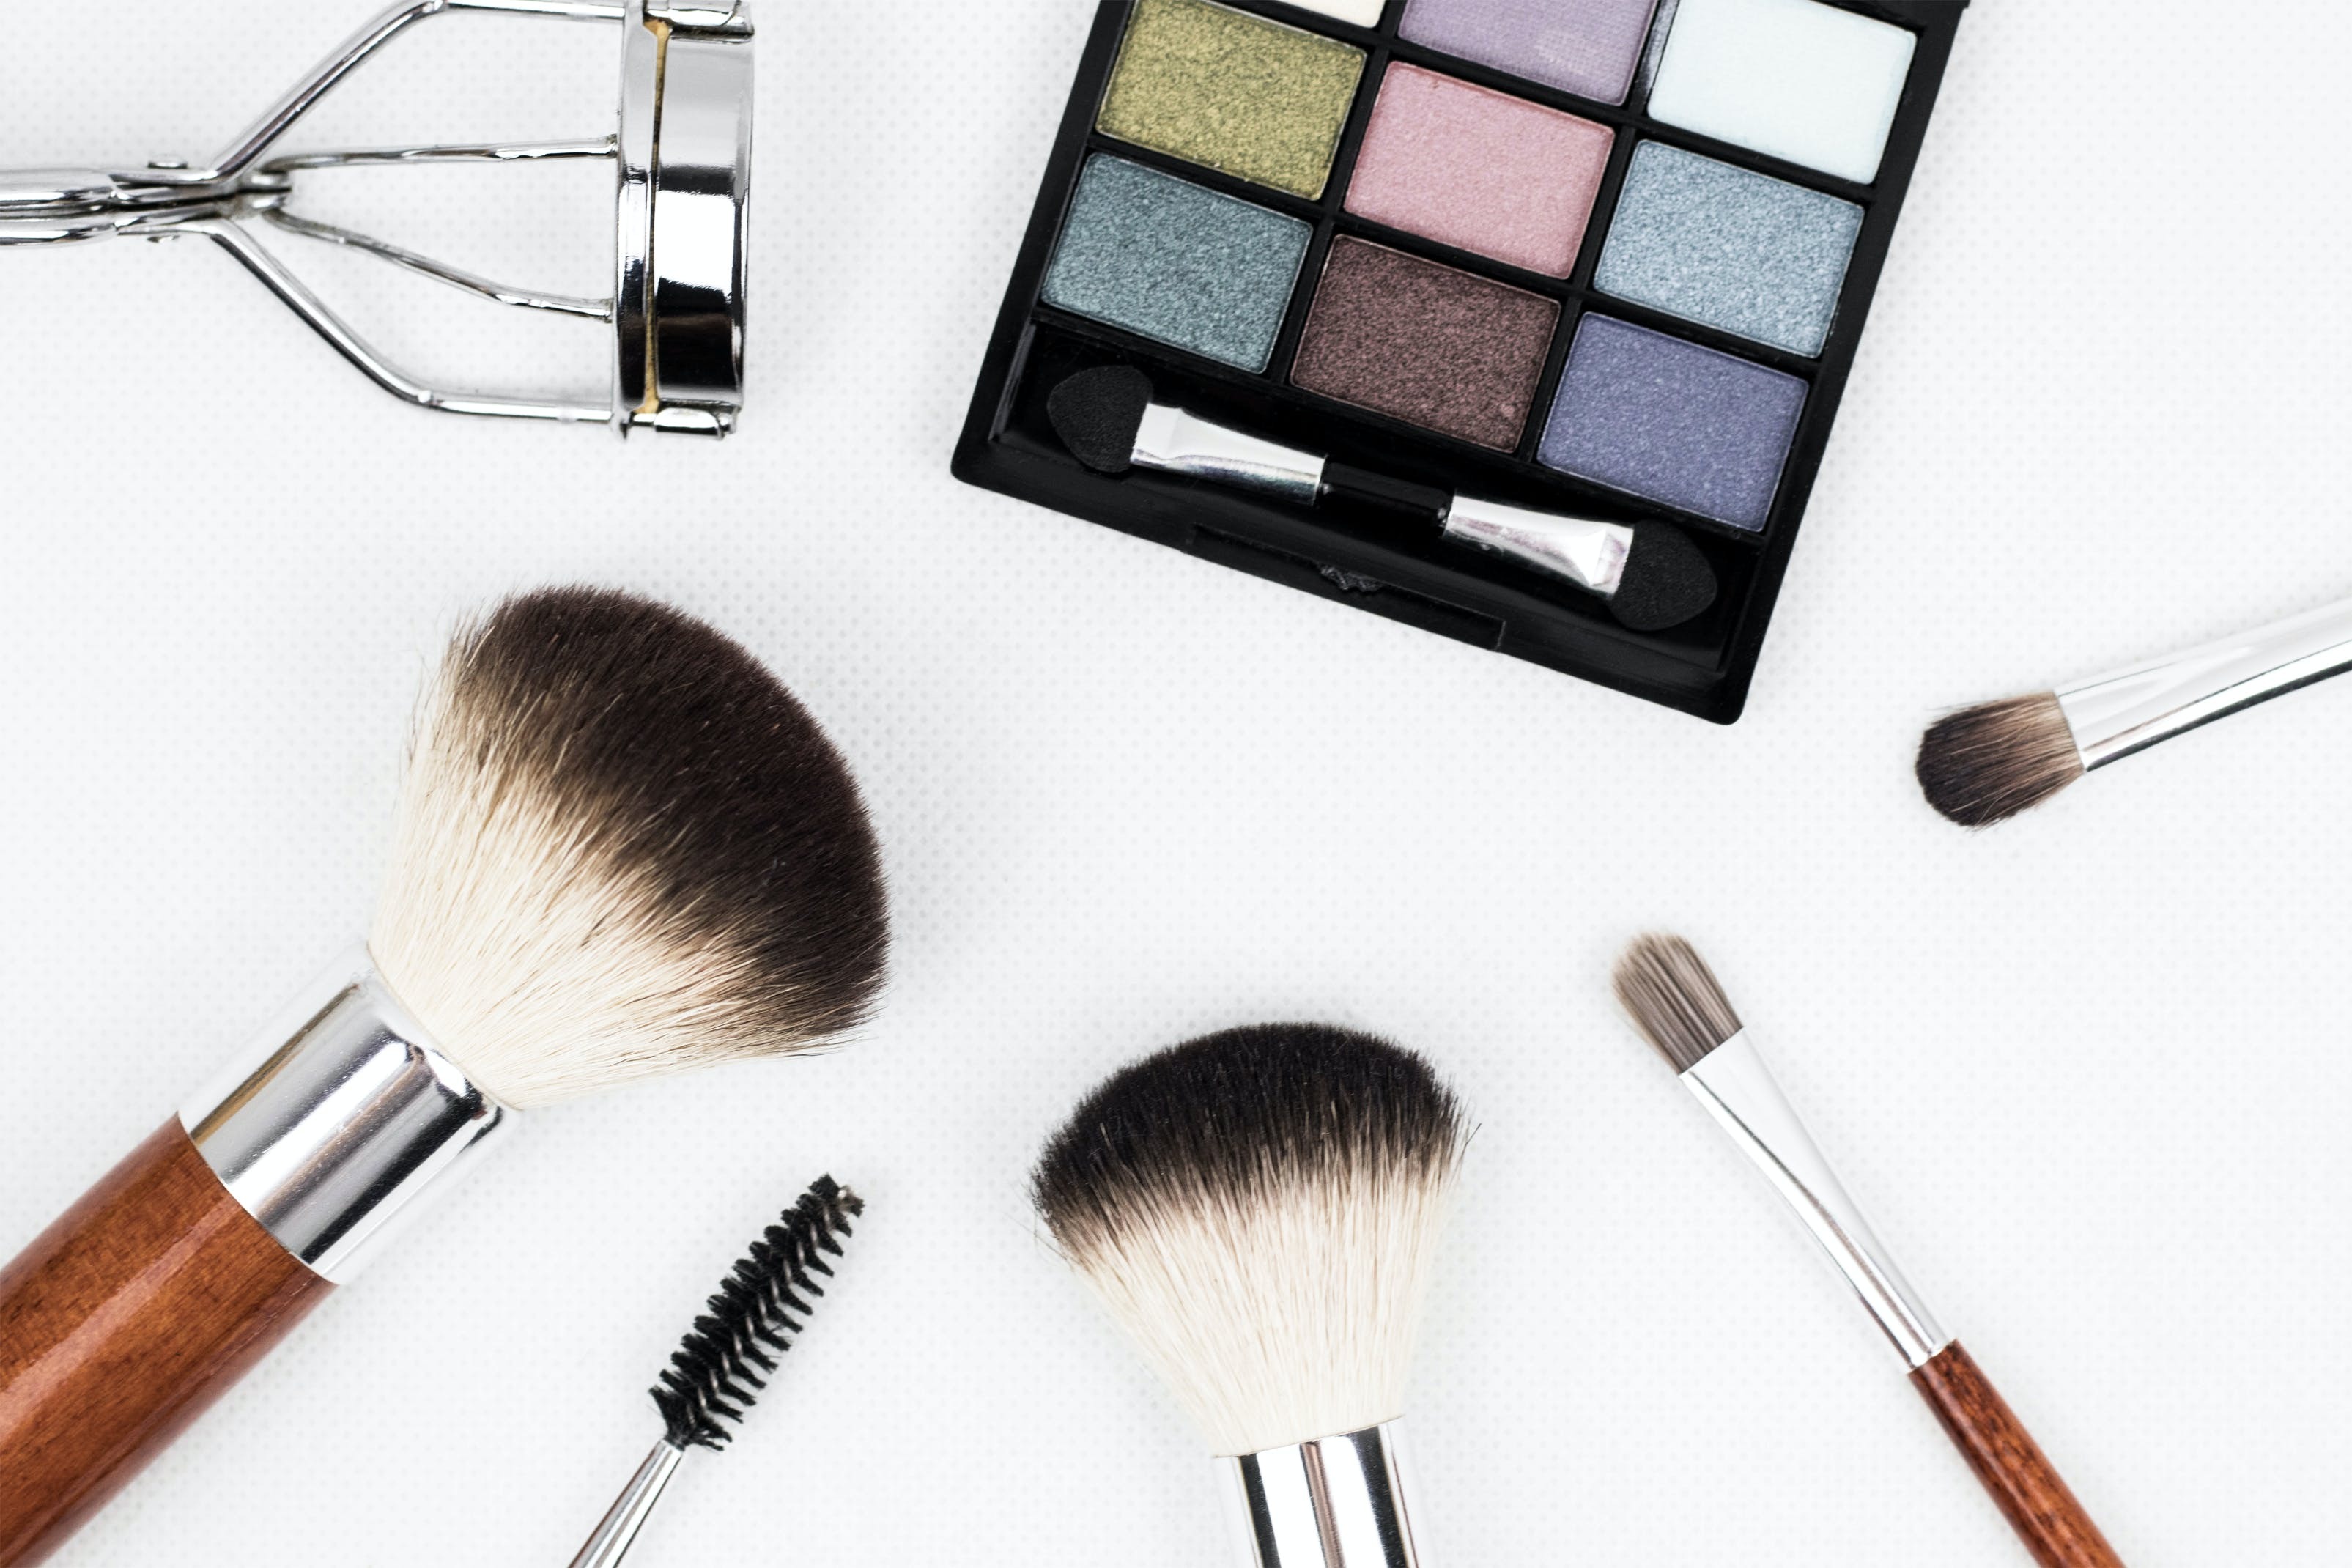
5. Clean Your Brushes.
Do I need to say it?
Really, a lot of doing your hair and makeup at home nicely is about doing all the adulty things you should already be doing.
But that's ok, as long as you're cleaning your brushes after every third use at least.
This will have a huge impact on the overall look of your makeup and also improve your skin.
I know it's annoying.
But seriously, that brush you are using for bronzer, foundation and probably blush is covered in bacteria and far too many colours.
How To Do Hair At Home

1. Preparation.
As with your makeup, your hair's condition and health have a lot to do with how well it styles.
So, when it comes to doing your hair at home, let's start with some hair care basics.
Again, drink your water.
But there is a little more to hair health than that.
To keep it in tip-top shape you should eat a healthy and well-balanced diet, scrub your scalp, and wash your locks with hydrating and clarifying products.
Doing a hydrating mask and a deep conditioning treatment the night before an event is a great way to prep your hair for styling too.
2. Protect.
If you are not using heat protection spray and anti-frizz serums, then you know where I stand.
Again, successful styling is all about your hair's health.
Keeping it protected from the heat and minimising frizz is a huge part of that.
Both these things mean your strands look and stay smooth before and after styling without being damaged in the process.
3. Plump.
Often, we fall flat when doing our hair at home because our hair is literally flat.
Adding some plumping products to your roots before styling is a pro tip to ensure big bouncy body.
This is especially important if you want curls and beachy waves because otherwise, they can look more drowned rat than mermaid-esque.
But use plumping products sparingly as they can build up in your roots and make your hair look greasy.
Another handy hack to boost your volume sans the styling products is using hair extentions.
They offer serious or subtle body in seconds.
4. Choose Your Weapon.
When doing your hair at home, the tools you use are very important, depending on what you want to achieve.
If you are a wizard, a straightener will suffice for most styles.
But if you are a novice, you might want more than one styling tool or technique in your arsenal.
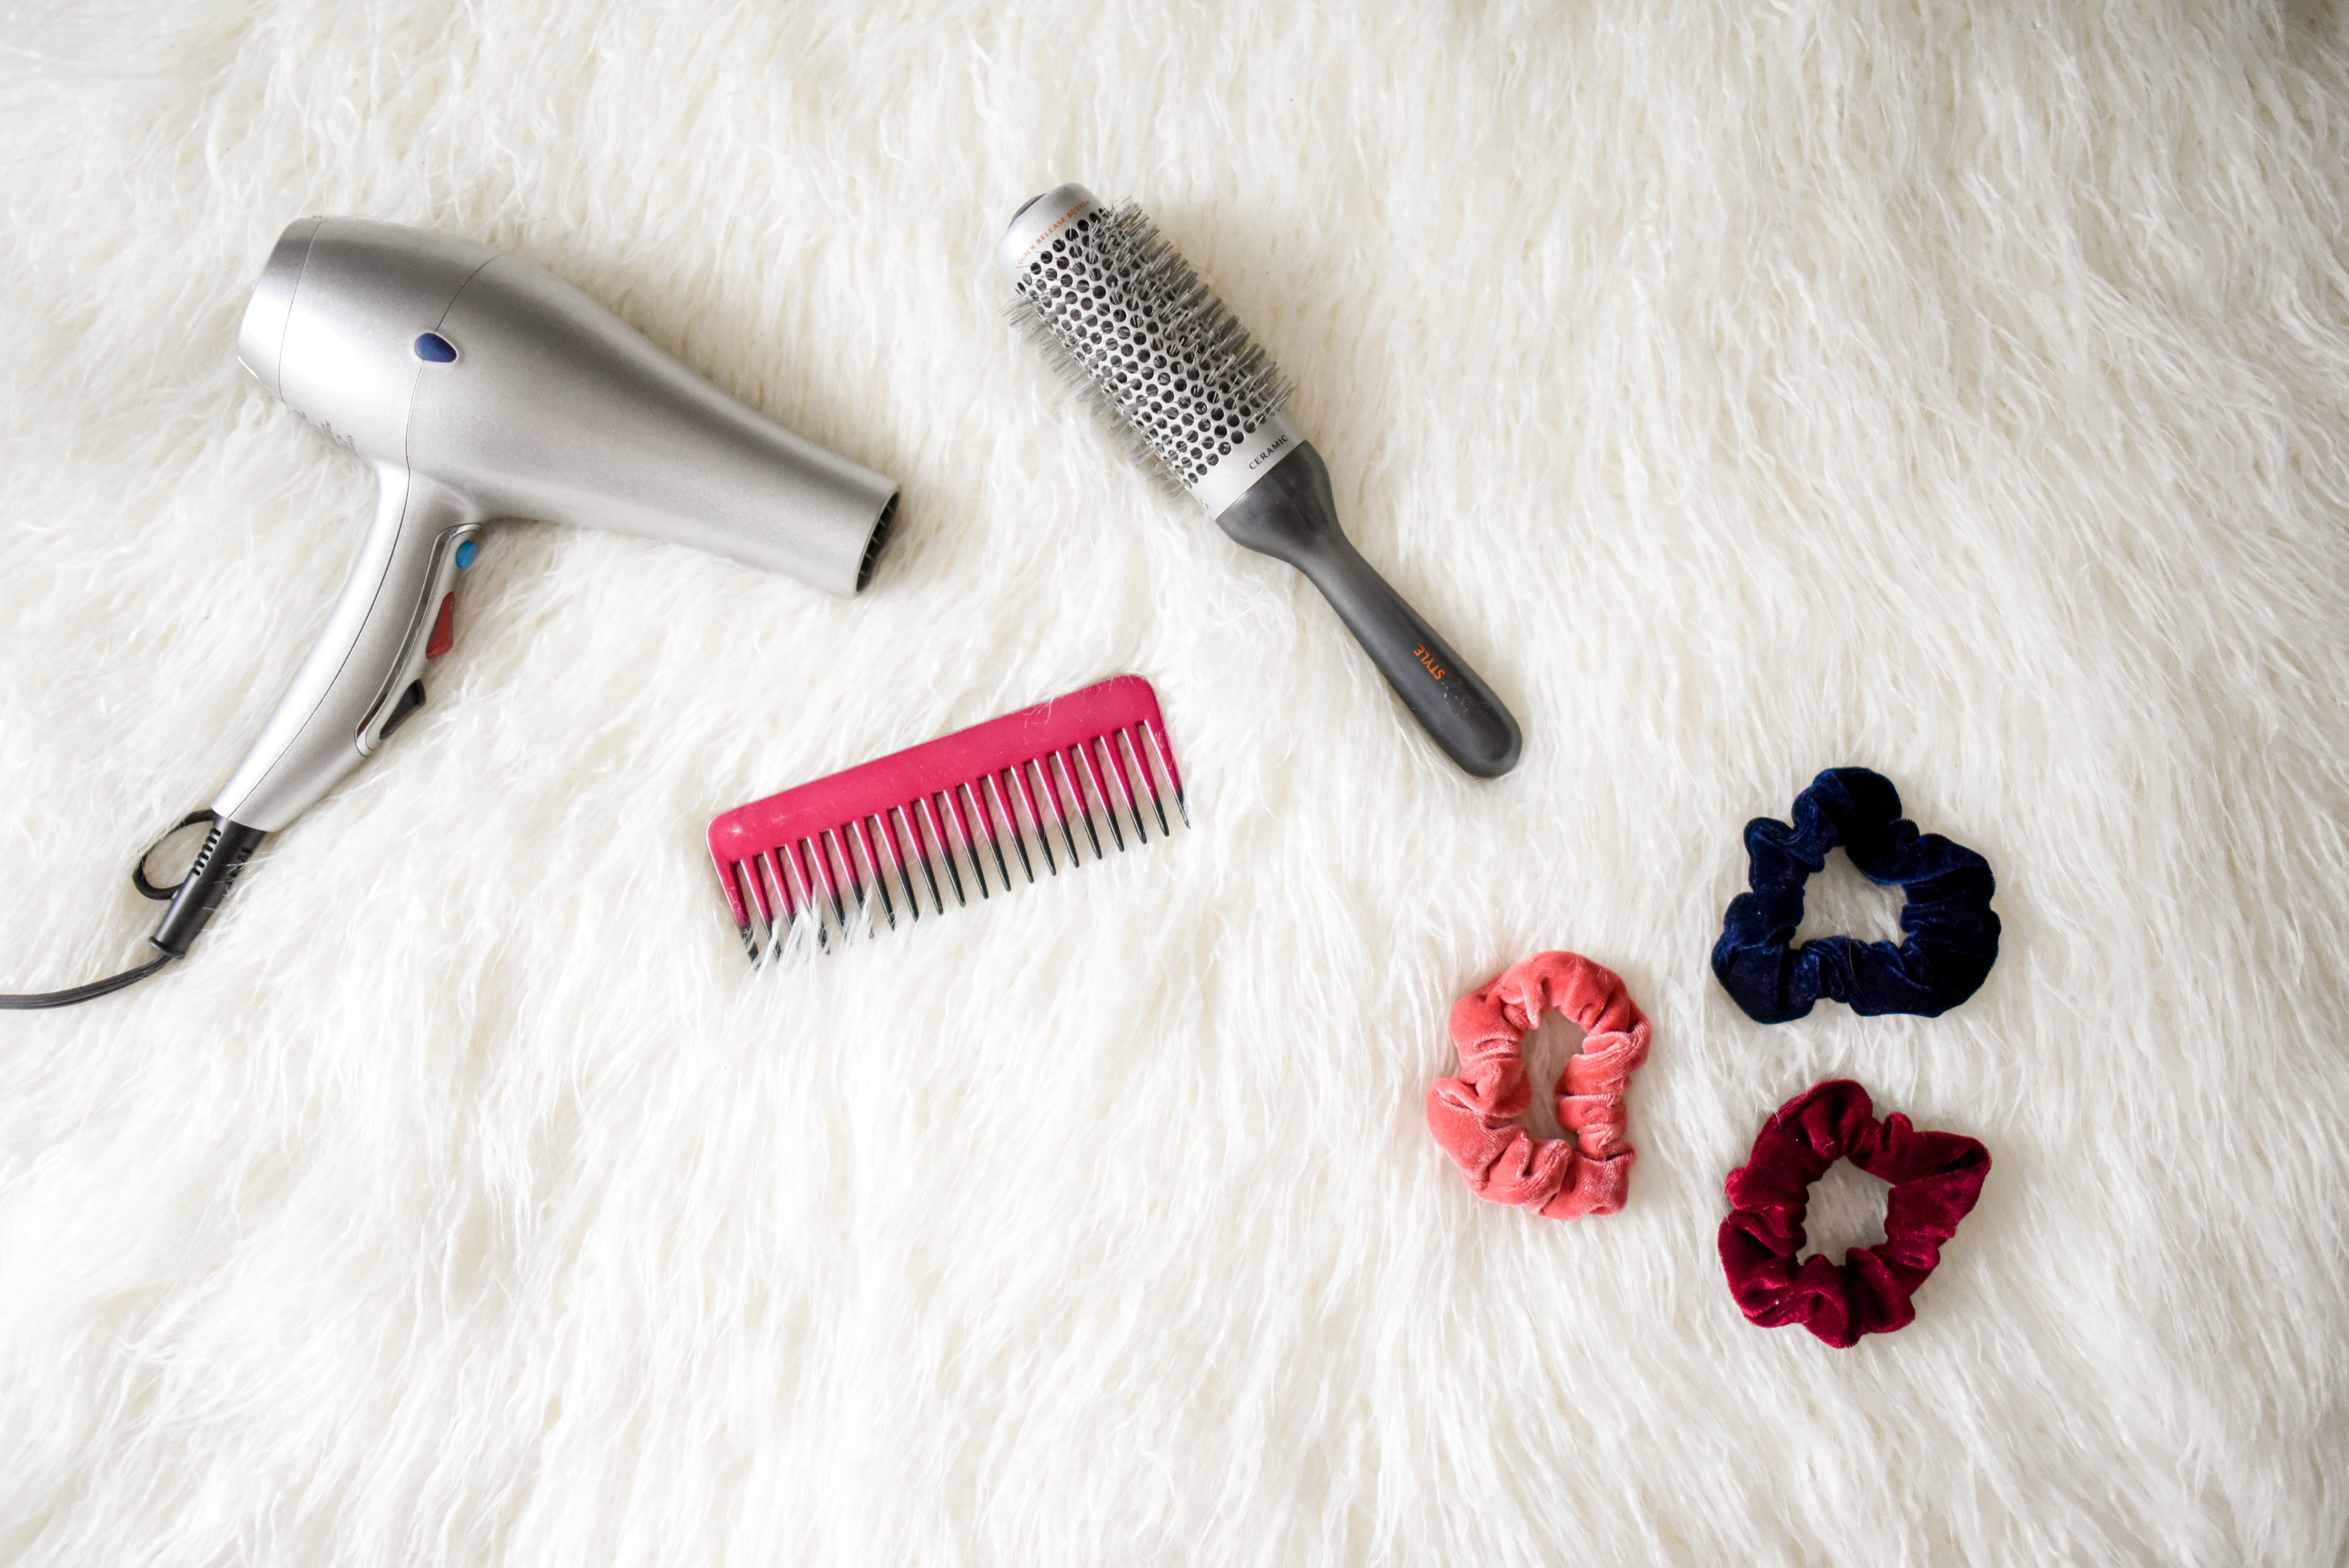
Hair tools I'd suggest are:
1. A decent straightener.
My 14-year-old GHD only just went to hair heaven. If your hesitant to drop the dollars on it, it's a solid investment.
2. A mid-range price and mid-sized barrel curler.
This will allow you to create a range of curls and waves without spending serious cash.
You can tailor your looks by how long you hold your hair on the wand for and by plumping or pulling them out with products after styling.
3. A tail comb.
Because parting properly and teasing are a must.
4. A decent brush.
Yes, there is more than one kind of brush, and some are better for your hair than others.
But using the right tools will make doing your hair at home breezy.
5. Clean Your Tools
Like your makeup brushes, you should also be regularly cleaning your hair tools!
Sounds shocking, I know.
But de-hairing your brush and curler etc. regular helps the tool get closer to your hair and scalp when styling.
This means it works better and also doesn't spread nasties.
You don't need to sterilise them or anything too crazy, just get rid of the built-up hair and wipe them now and again.
Obviously be careful when cleaning the electrical tools, maybe just wipe them down and avoid open water.